
SPRING TULIPS IN BLOOM | PHOTO BY YOKSEL ZOK ON UNSPLASH
Easing into the Garden Clean Up
I know you are all eager to get outside and start cleaning up the mess that winter left in your garden; but it actually pays royal dividends to leave it alone for a few more weeks. Aside from the obvious—cleaning up for aesthetic reason—there is no need to start digging and raking until around the second or third week of April. Give the garden a little more time to absorb nutrients from the dead plant material, allow the ground to completely thaw, and the garden critters to come out and play. If you’re just too excited to wait any longer, then cut up the dead plant material into small chunks (mulch), and leave it lying on top of the soil. If you mulch it up into small enough pieces, you might be fine leaving it there indefinitely.
Begin Spring Pruning
When you absolutely must indulge, PLEASE, PLEASE, PLEASE tread carefully. That hand rake that you are so passionately exercising is wonderful at unsuspectedly chopping off the tops of those beautiful budding perennials that are hiding just below the soil surface. Speaking of chopping, April is the month for doing some serious shrub and tree pruning. Be careful that you do your pruning research first. Some plants—especially those that flower in the early spring—generally, should not be pruned until after they flower; and then other plants may prefer to be pruned in the fall.
TRANSPLANTING | PHOTO BY KYLE ELLEFSON ON UNSPLASH
Add Triple-Mix, Manure, or Compost
Towards the end of this month it is a wonderful time to apply two inches of compost or “triple mix” to your garden bed. Triple mix, which is a mixture of peat moss, compost and top-soil, will add important nutrients to your garden and REALLY, TRULY help your plants thrive. There’s no need to mix it into the existing soil… just layer it on top and let the earthworms and garden critters do the mixing for you.
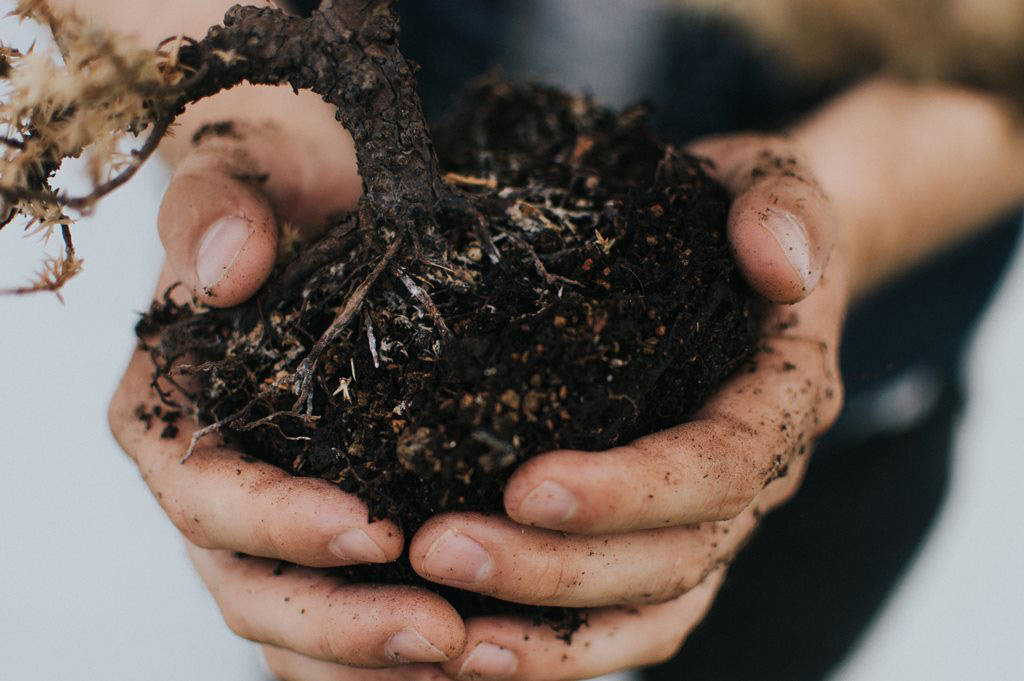
Transplanting Shrubs and Perennials
If any of your plants need to be transplanted it’s a good time to do this around the same time you add the triple-mix. Carefully dig up as much of the root ball and surrounding soil as you can. Move the plant into it’s new location, which should be a hole at least a few inches bigger than the hole it came out of. Fill the hole and the new transplant with clean water so that the roots get a good soak. Wait for the water to drain naturally from the hole. When all the water has drained fill in around the root ball with the triple-mix, while gently positioning the transplant in place.
PREPARING NEW GARDEN BEDS | PHOTO BY LUKAS FROM PEXELS
DO NOT LET YOUR NEW PLANT BEDS DRY OUT FOR PROLONGED PERIODS DURING THE FIRST TWO YEARS
Those of you who neglect to follow my watering instructions, might notice some winter kill (dead parts) on your trees and shrubs; or worse, the plant may have made its ascent to that glorious garden in the sky. Tisk tisk… I warned you!!! Carefully prune the dead material from the plants that survived, and hold a farewell funeral for the ones that didn’t make it.
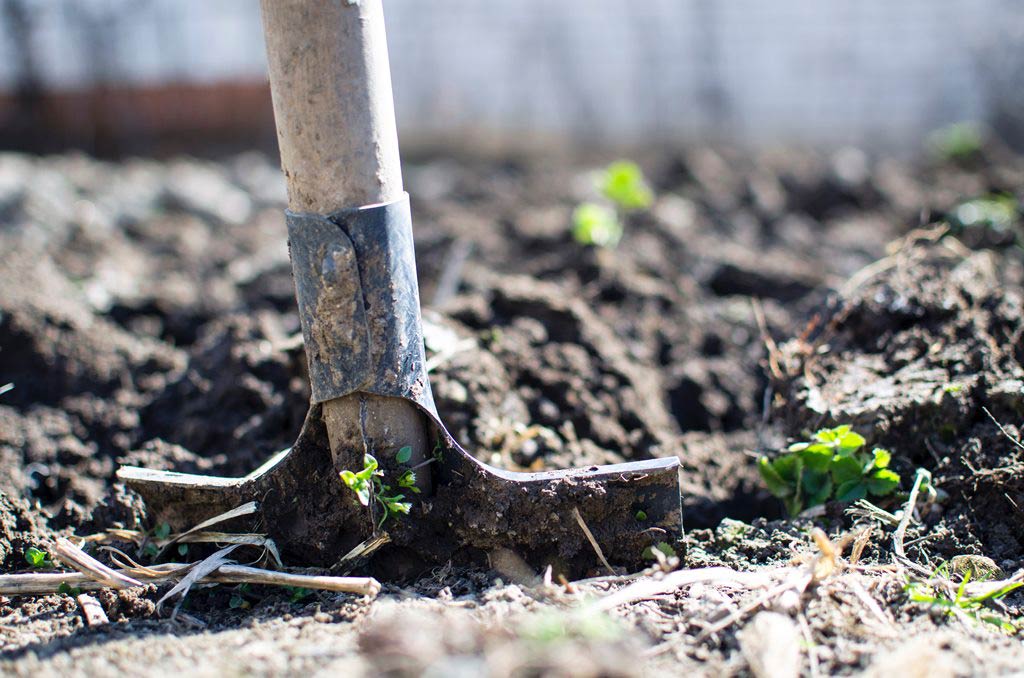
Preparing New Garden Beds
Lastly, those of you who are planning to install new garden beds this spring… get cracking!! Ideally your new beds should be dug, and the soil well enhanced by month’s end. If you’re really slow at getting started and don’t even have a garden design ready you might want to read my post THE MARCH GARDEN – MONTHLY GARDENING ADVICE FOR NEW GARDENERS.

APPLE BLOSSOMS | PHOTO BY PAN ZHEN ON UNSPLASH
Check in with us once a month between March and October for tips on how to care for your garden. And remember, Design for Conscious Living® is a full-service interior and exterior design company. We can help you with everything from decorative flowerpots to the design and installation of your dream garden.