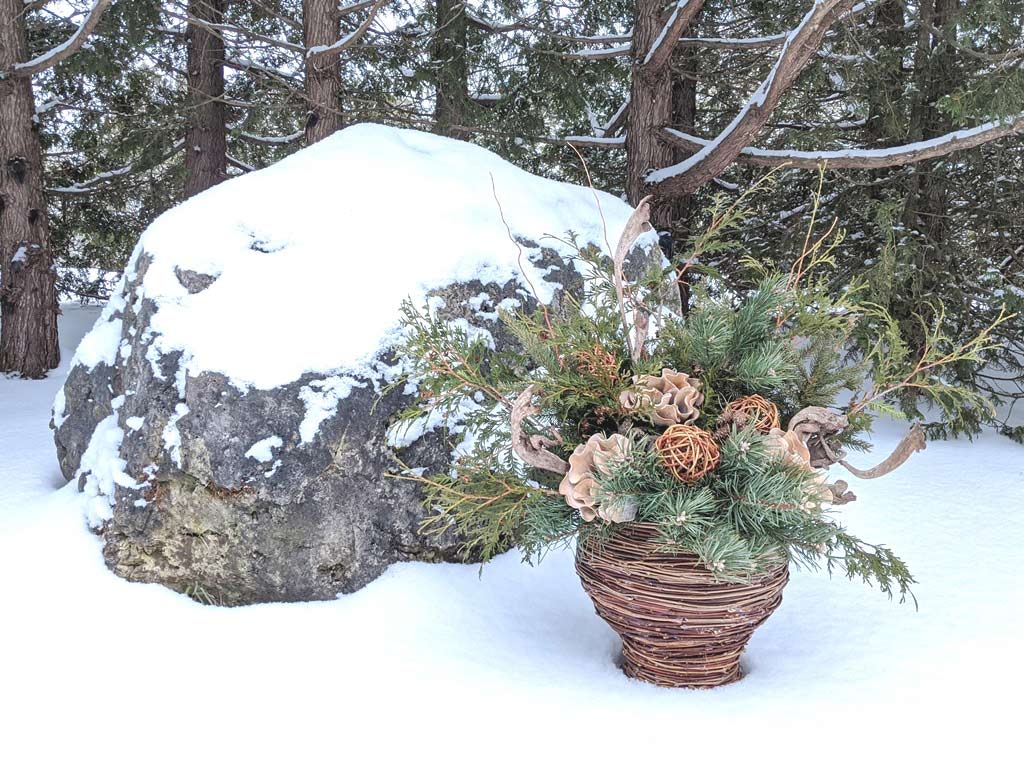
GRAPEVINE PLANTER AND FLORAL ARRANGEMENT CREATED BY CELIA ALIDA RUTTE
Making Handmade Seasonal Decorations and Accessories
Recently someone called me from the Toronto Star newspaper to interview me about natural Christmas décor. When the article, Here’s How to Go Green for Christmas (Toronto Star) published it got me thinking about my own green Christmas decorating plans, so I published the post, Go Green for the Holidays.
My fiancé and I purchased a home together last year and now that we are living together will be building our own collection of seasonal ornaments and accessories. I spoke to him about refurbishing existing decorations, or making handmade ornaments for our Christmas tree out of natural materials. He liked the idea and we decided that each year we would devote time to making a new ornament or accessory. Eventually we will fill our home with natural handmade decorations—which will have added sentimental value because we made them ourselves.
Inspired by this commitment to handmade eco-friendly decorations I searched for my first creative project. The previous owner of our home had left behind a large planter made of a painted plaster. It was badly chipped and rather ugly looking in my opinion. However the shape was nice, and I had used the planter the previous winter to display an arrangement of winter greenery on our front doorstep. I decided it would be the guinea pig for my first attempt at handmade seasonal decorations.
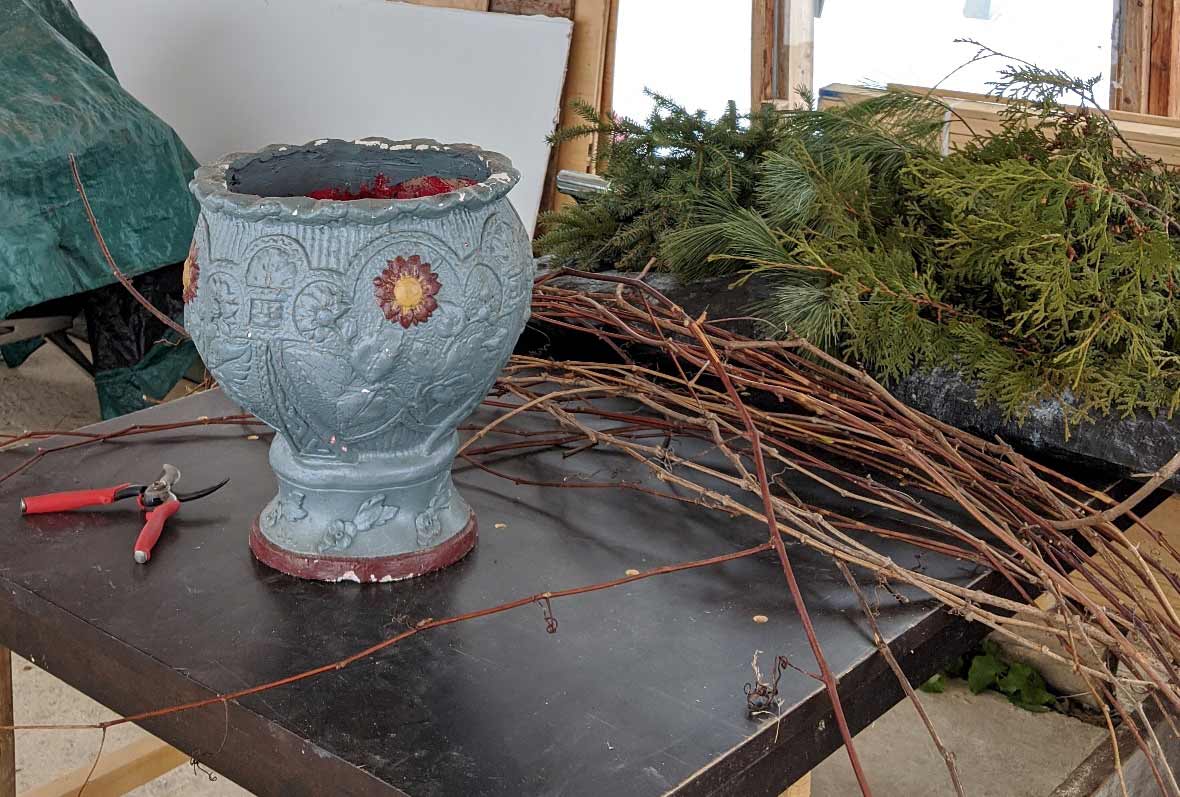
PLANTERS, PRUNERS, GRAPEVINES, AND GREENERY
How to Collect and Work with Grapevines
I wanted to resurface the planter with a natural material, and I knew just the one to use. We have a very happily established and rather invasive Wild Grape Vine growing close to the house. It would supply me with all the natural vines I needed for my project.
If this is your first time resurfacing a container with vines I recommend starting with a smaller container. Depending on the length of the vines you harvest from the plant, a planter of this size requires about 40 – 60 pieces of vine.
The thinner, younger vines are easier to work with and have better flexibility, so I suggest you harvest those. With a pair of pruners, cut off all the side branches, tendrils and leaves until you are left with one long vine. I harvested my grape vines in December, which worked great because all the leaves had already fallen off. I also find it best to harvest the grape vines shortly before using them in your project. They quickly become dry and brittle and will crack when you bend them around objects.
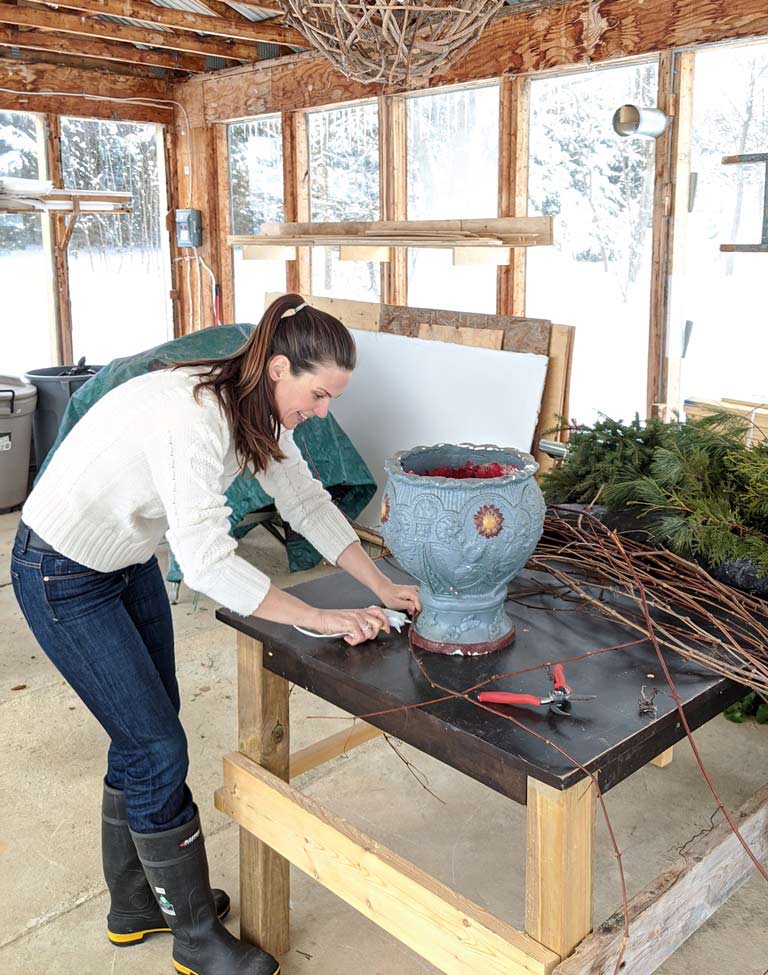
CELIA GLUING VINES WITH THE GLUE GUN
Grapevine Craft Project | Resurfacing the Planter
The only tools you need for this project are a pair of pruners and a glue gun. I found working from the bottom of the container up to the top was easiest.
Starting with your first piece of vine, apply some hot glue to the side of the container and press the vine into the glue. You may need to hold it there for 10 – 30 seconds to make sure it is adhering well.
Once you have the beginning of the vine securely glued on, you can start wrapping the vine around the container, applying a bit of hot glue every few inches to hold it in place. Like anything you will improve with practice. It won’t take long before you get a good feel for when you need to apply glue, and how much glue you need to keep the vine in place. RULE OF THUMB: the thicker the vine the more glue you will need.

GLUING THE VINES IN PLACE
Applying the glue can be tricky when you are applying thicker vines because they need more glue; the glue dries to a milky white, and you don’t want it to be visible on your finished vase. What I found worked well is to wrap the entire container in the thicker vines, and then go back over the whole vase with thinner vines to fill in small gaps and cover visible gobs of glue. In some spots, I cut pieces of vine a few inches in length to fill in a small gap. This worked better than trying to wrap a longer piece over one small spot. The ends of the vine can also be tucked into the gaps of already glued pieces. This helps reduce the amount of glue you use.
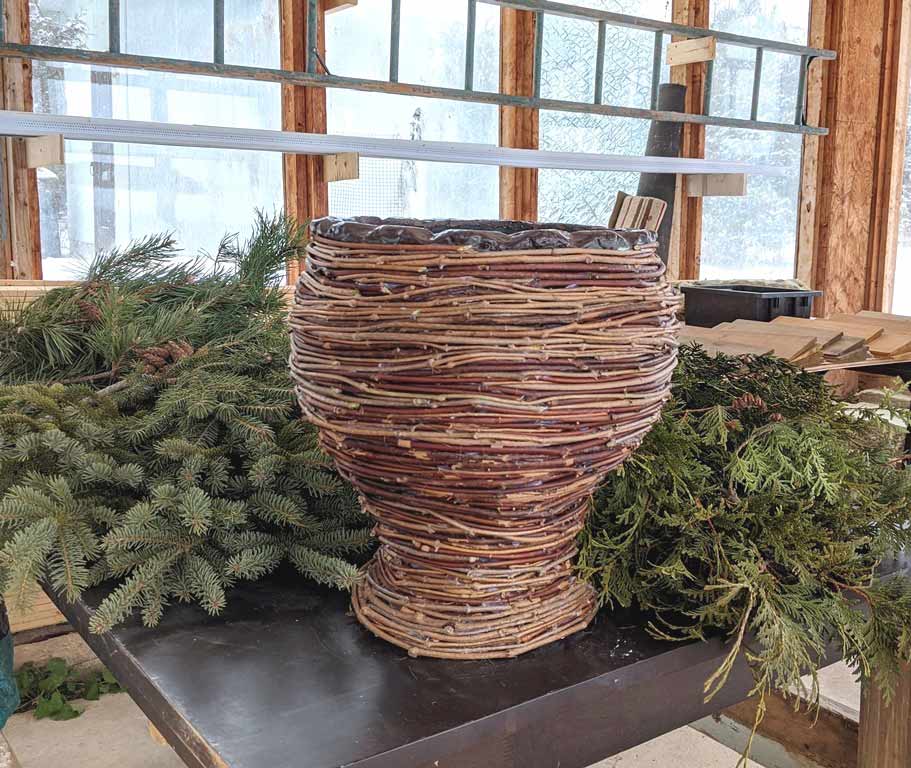
THE FINISHED GRAPEVINE PLANTER
Grapevine Craft Project | Painting the Rim of the Planter
Before adding the vines to the top of the planter I painted the top rim in a dark brown. The original colour of the planter was clashing with my vision of the finished planter. When the paint was dry I completed the application of vine as close to the top as I could go. If you are working with a smoother container that has a straight rim, you may likely be able to bring your vines right to the top.
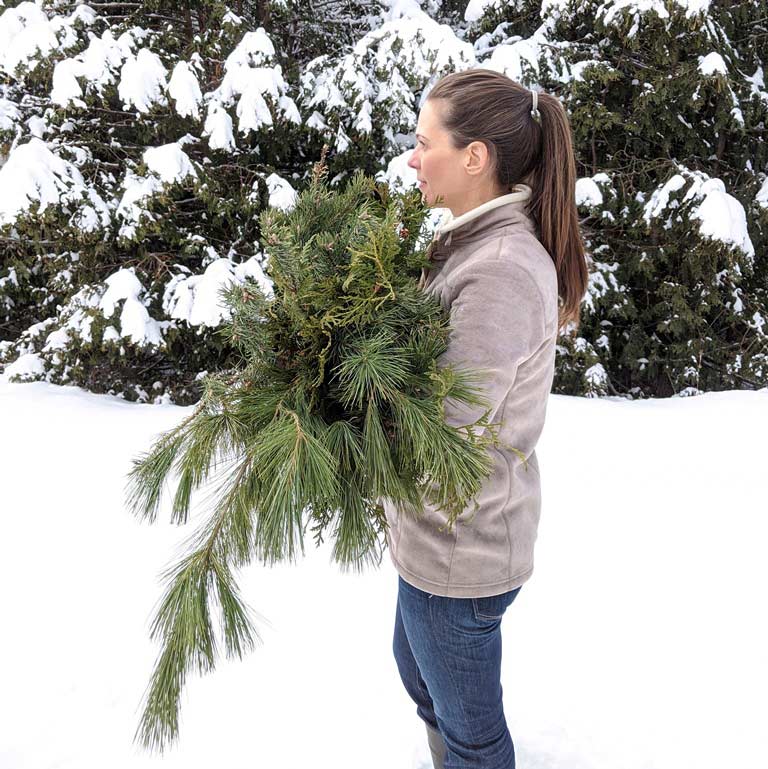
CELIA COLLECTING GREENERY
Harvesting Seasonal Greenery
I am lucky to live on a piece of property that is covered in pine, cedar and spruce trees. Christmas greenery is at my fingertips, fresh, and littered with pinecones. I harvest the greenery with a sharp clean set of pruners. You can spread disease from one tree to another so it’s wise to be careful; make sure to clean the pruners with a mixture of alcohol and water prior to cutting branches from each new tree.
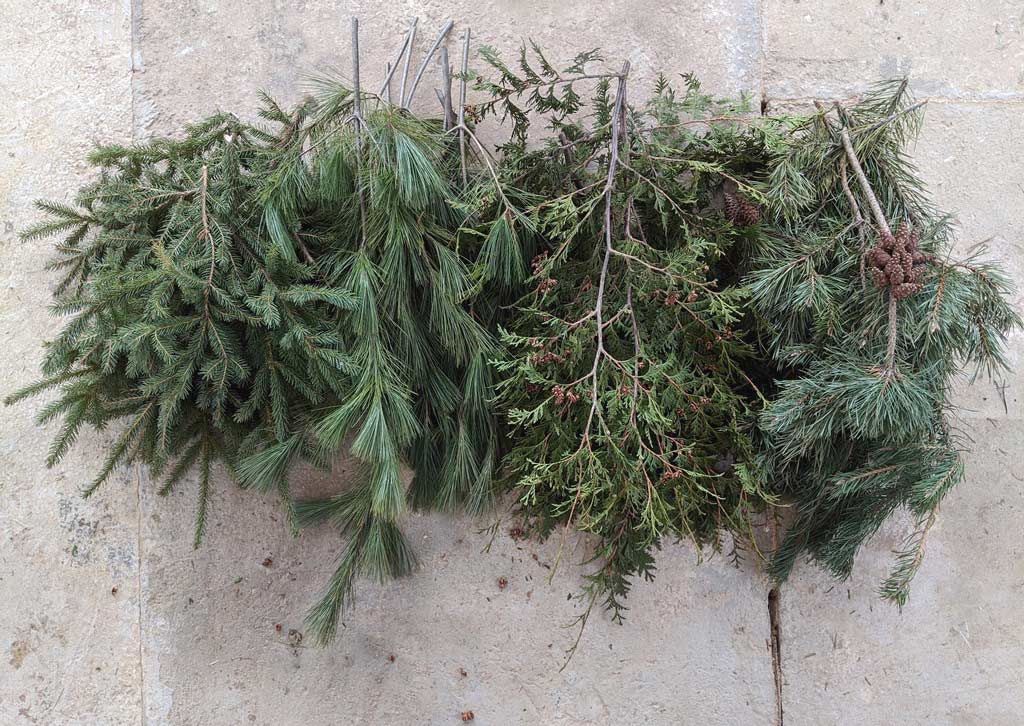
FOUR TYPES OF GREENERY COLLECTED BY CELIA
If you are not so lucky as to live in an evergreen forest, then you may be purchasing your greenery from a store. Bring the greenery home and treat it first by soaking it in water overnight in the bathtub. Remove the greenery from the water and let it dry before treating it with an anti-transpirant like Wilt Pruf. This keeps the moisture locked in and your greenery looking fresh through the holiday season.
My winter floral arrangement will be located in a cold dry breezeway that is sheltered from the sun, so I don’t bother treating the greenery. Cutting it straight from the tree, it will stay fresh enough through the coldest of winter months; and by early spring I will be ready to change the arrangement to something else.
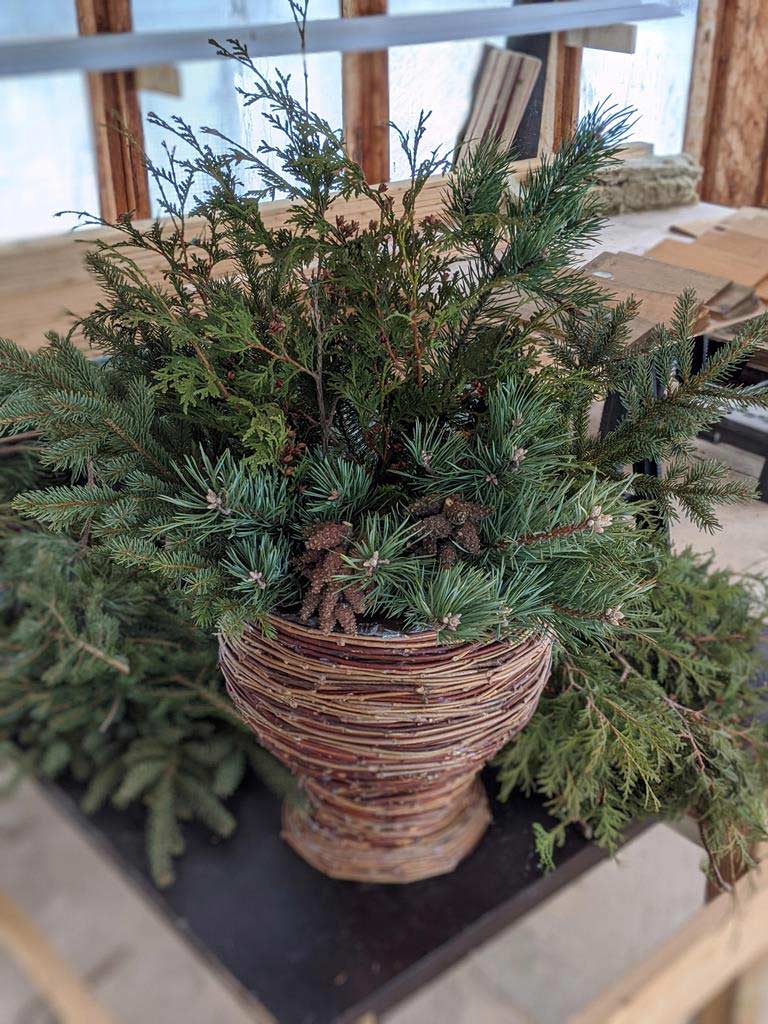
ADDING GREENERY TO THE FINISHED PLANTER
Adding Christmas Greenery to Your Planter
I am choosing a variety of different greens for my newly resurfaced grapevine planter. Pine, cedar and spruce branches make up this arrangement with some extra special pinecone clusters at the front of the planter. I placed the taller cedar and pine branches at the back, mid-height spruce branches on the sides, and shorter pine and pinecone branches in the front.

ADDING FLORALS AND ACCESSORIES TO THE FINISHED PLANTER
Winter | Christmas Floral Arrangement
Next you will add complimenting accents to your greenery that tell a story. The greenery serves as the backdrop and visual support for the florals and accessories.
Be creative with your selection of natural materials. Consider fruits or large pinecones mounted on a stick, decorative wood pieces, twigs, dried flowers, birch tree logs, sprigs of red berries, vine balls, and fresh flowers. Consider mixing in some of your existing Christmas decorations, or a string of LED lights. I have boxes of leftover plant materials that I have collected over my years of working as an interior decorator/designer. From this collection I pulled some vine balls, gnarly wood branches, and faux dried flowers. I played around with two or three different arrangements before I settled on this one.
I give you permission to create an arrangement, photograph it, and then take it apart and start again. I often prefer my second or third attempt. If it doesn’t feel perfect, I know it will bug me every time I look at it.
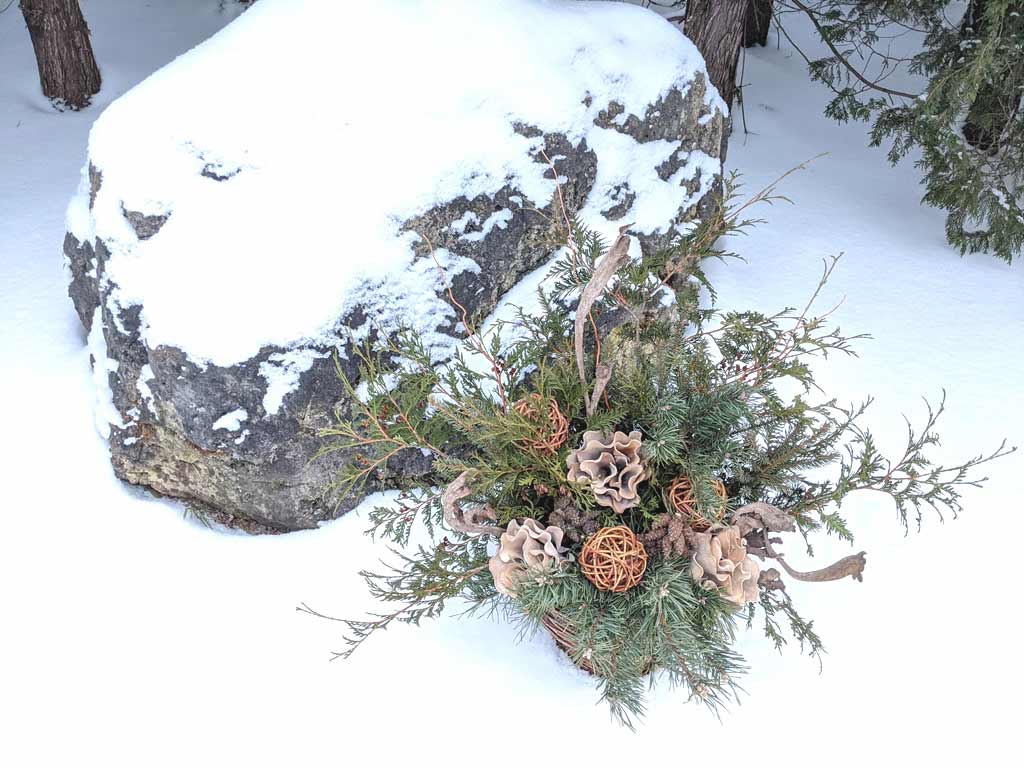
FLORAL ARRANGEMENT CREATED BY CELIA ALIDA RUTTE
Design for Conscious Living® is a full-service interior and exterior decorating and design company. We do everything residential. Reach out to us for more information on the planning and installation of your seasonal decorations.